
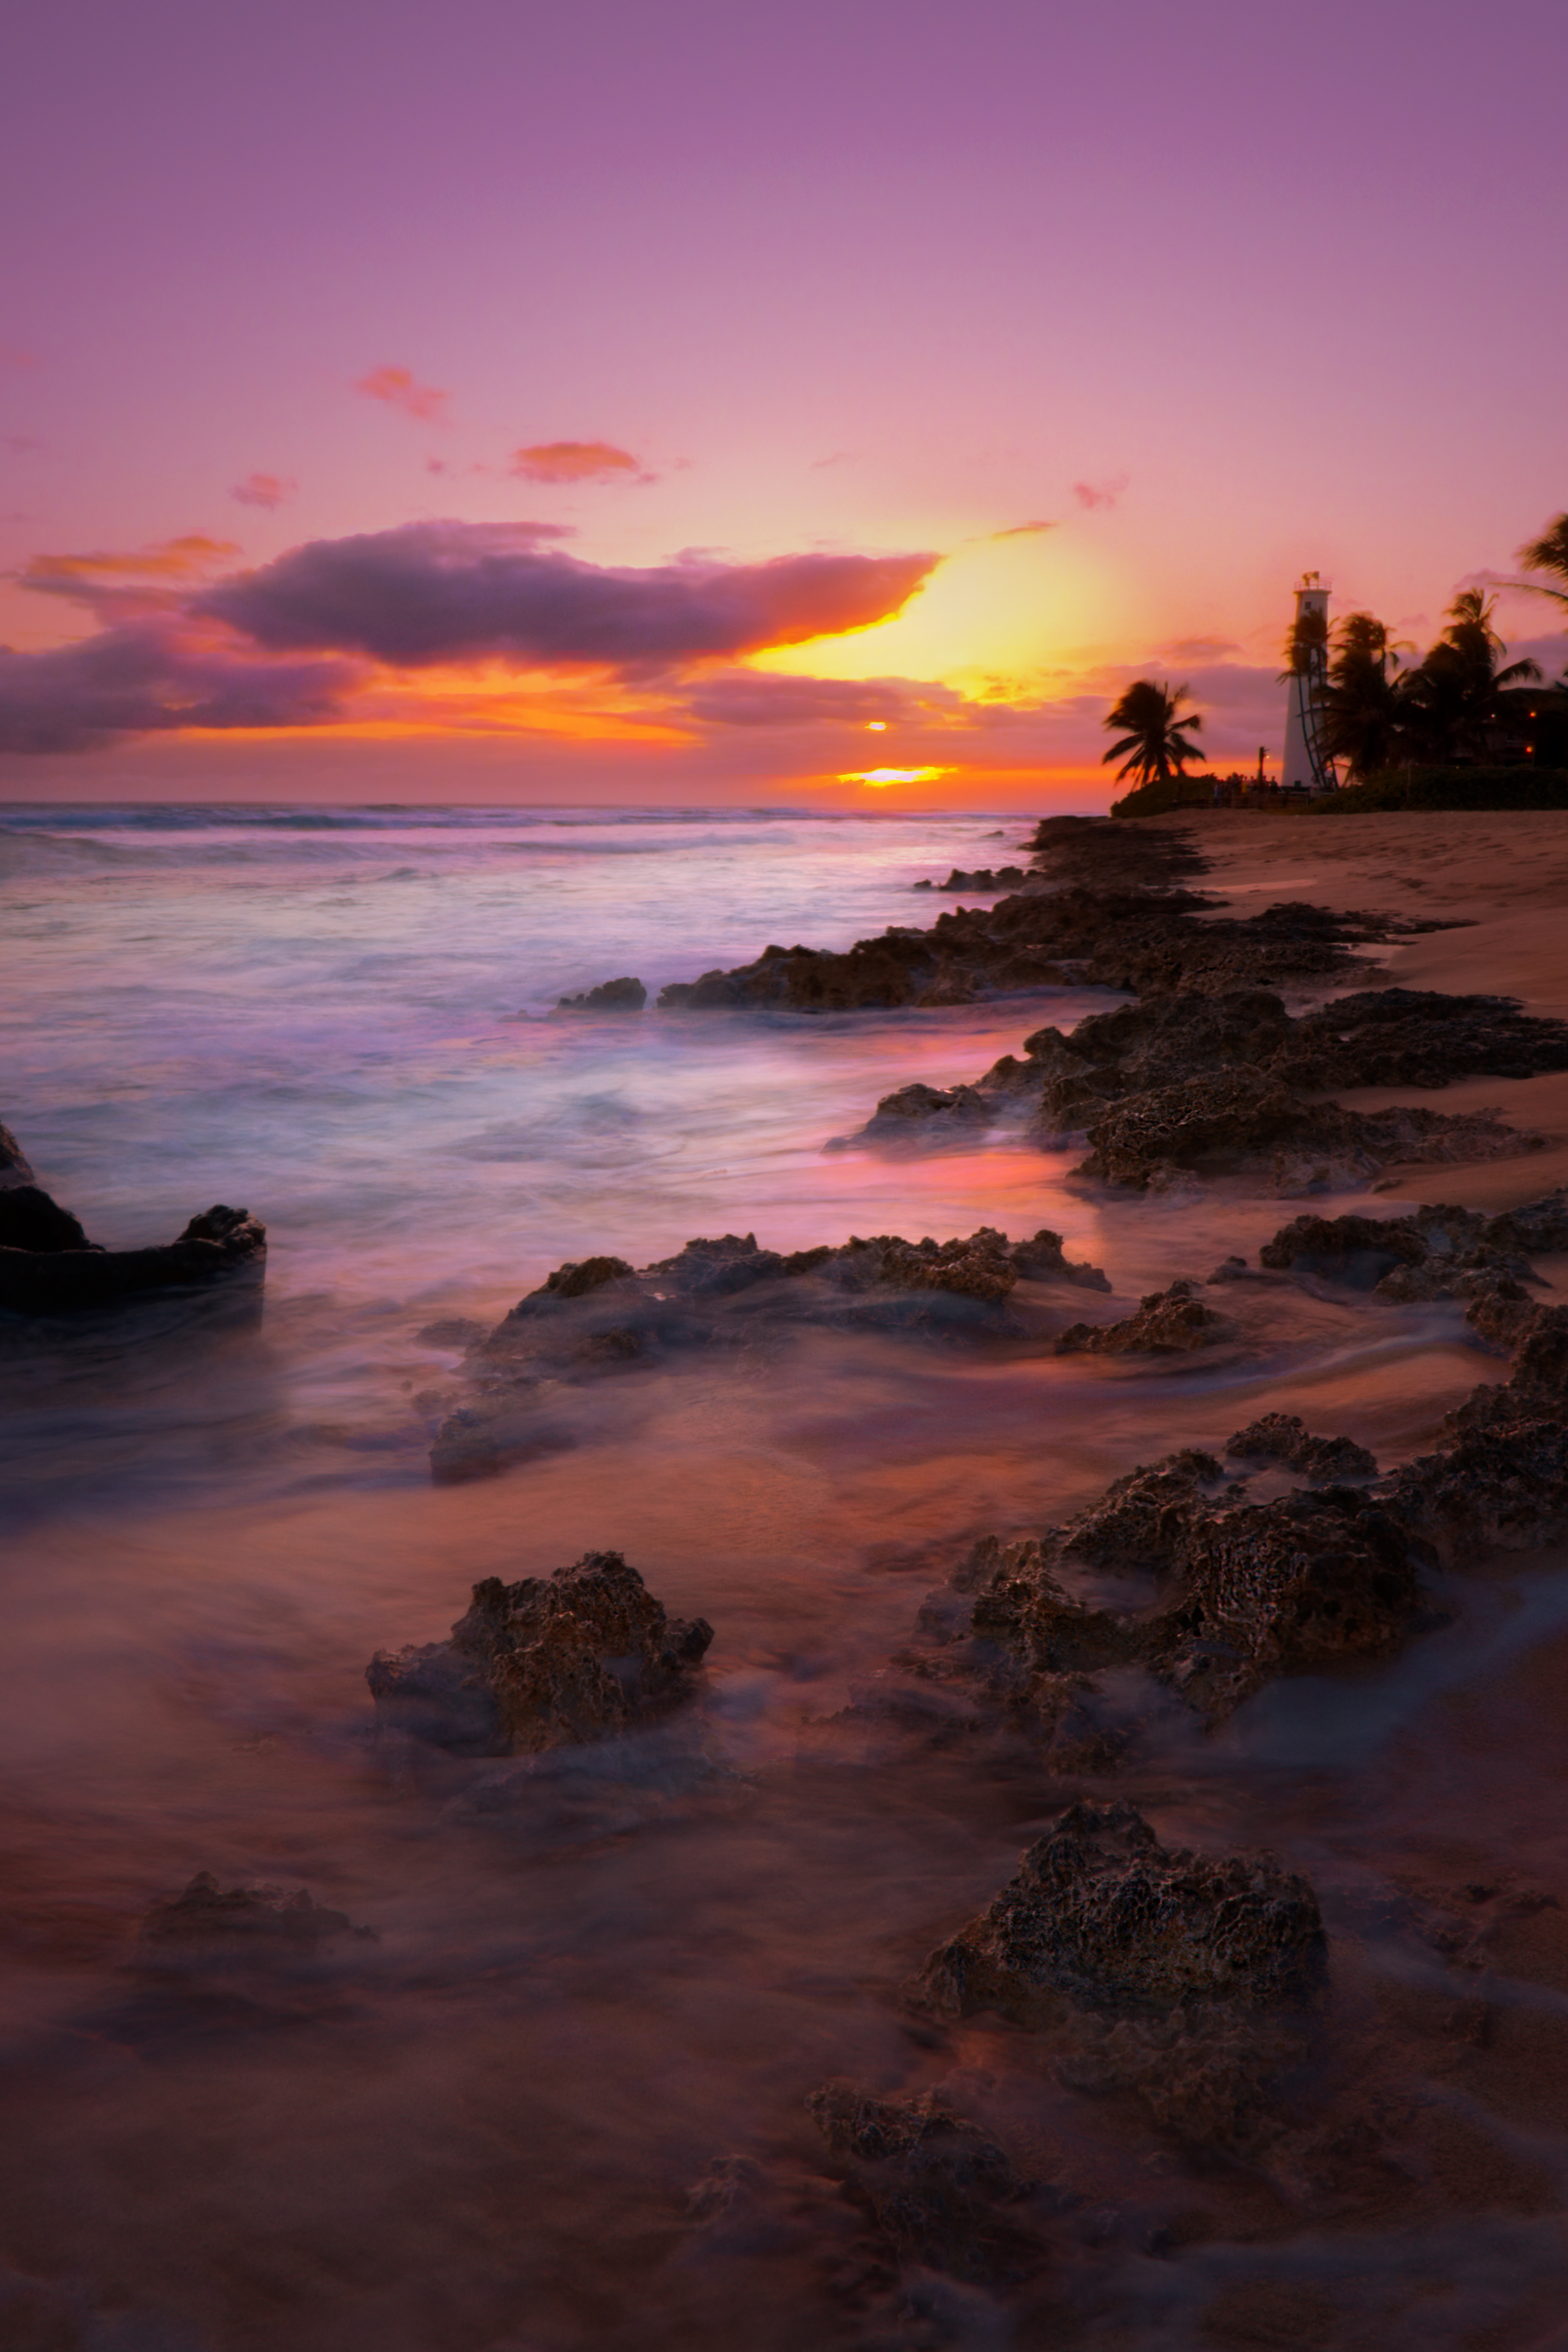

Diamond Head Beach at Sunset
Posted on April 15, 2015
So I have had my 10-18mm f/4 Canon lens for a little less than a month now, and I have been taking it out periodically to see what kind of shots I can get. I have had a few that I thought were nice, but an impromptu trip to Diamond Head at sunset got me this photograph. I am pretty happy with the colors.
If you are interested in knowing how to do something similar, I shot at 10mm for .6 with a 77mm Hoya circular polarizer to slightly darken the sky. Then I punched up the colors a little bit in Lightroom because I LOOOOOOVE my colors. Nothing else has been changed from the original.
Model Shoot: Cassie
Posted on March 28, 2015

Tip for today: Invest in a professional all-in-one reflector and use the gold during bright sunlight to make your images really pop. I purchased mine from Kaimuki Camera on Waialae. Check them out! They have a ton of great items.
Back to My Roots: Black and White Photography
Posted on March 27, 2015
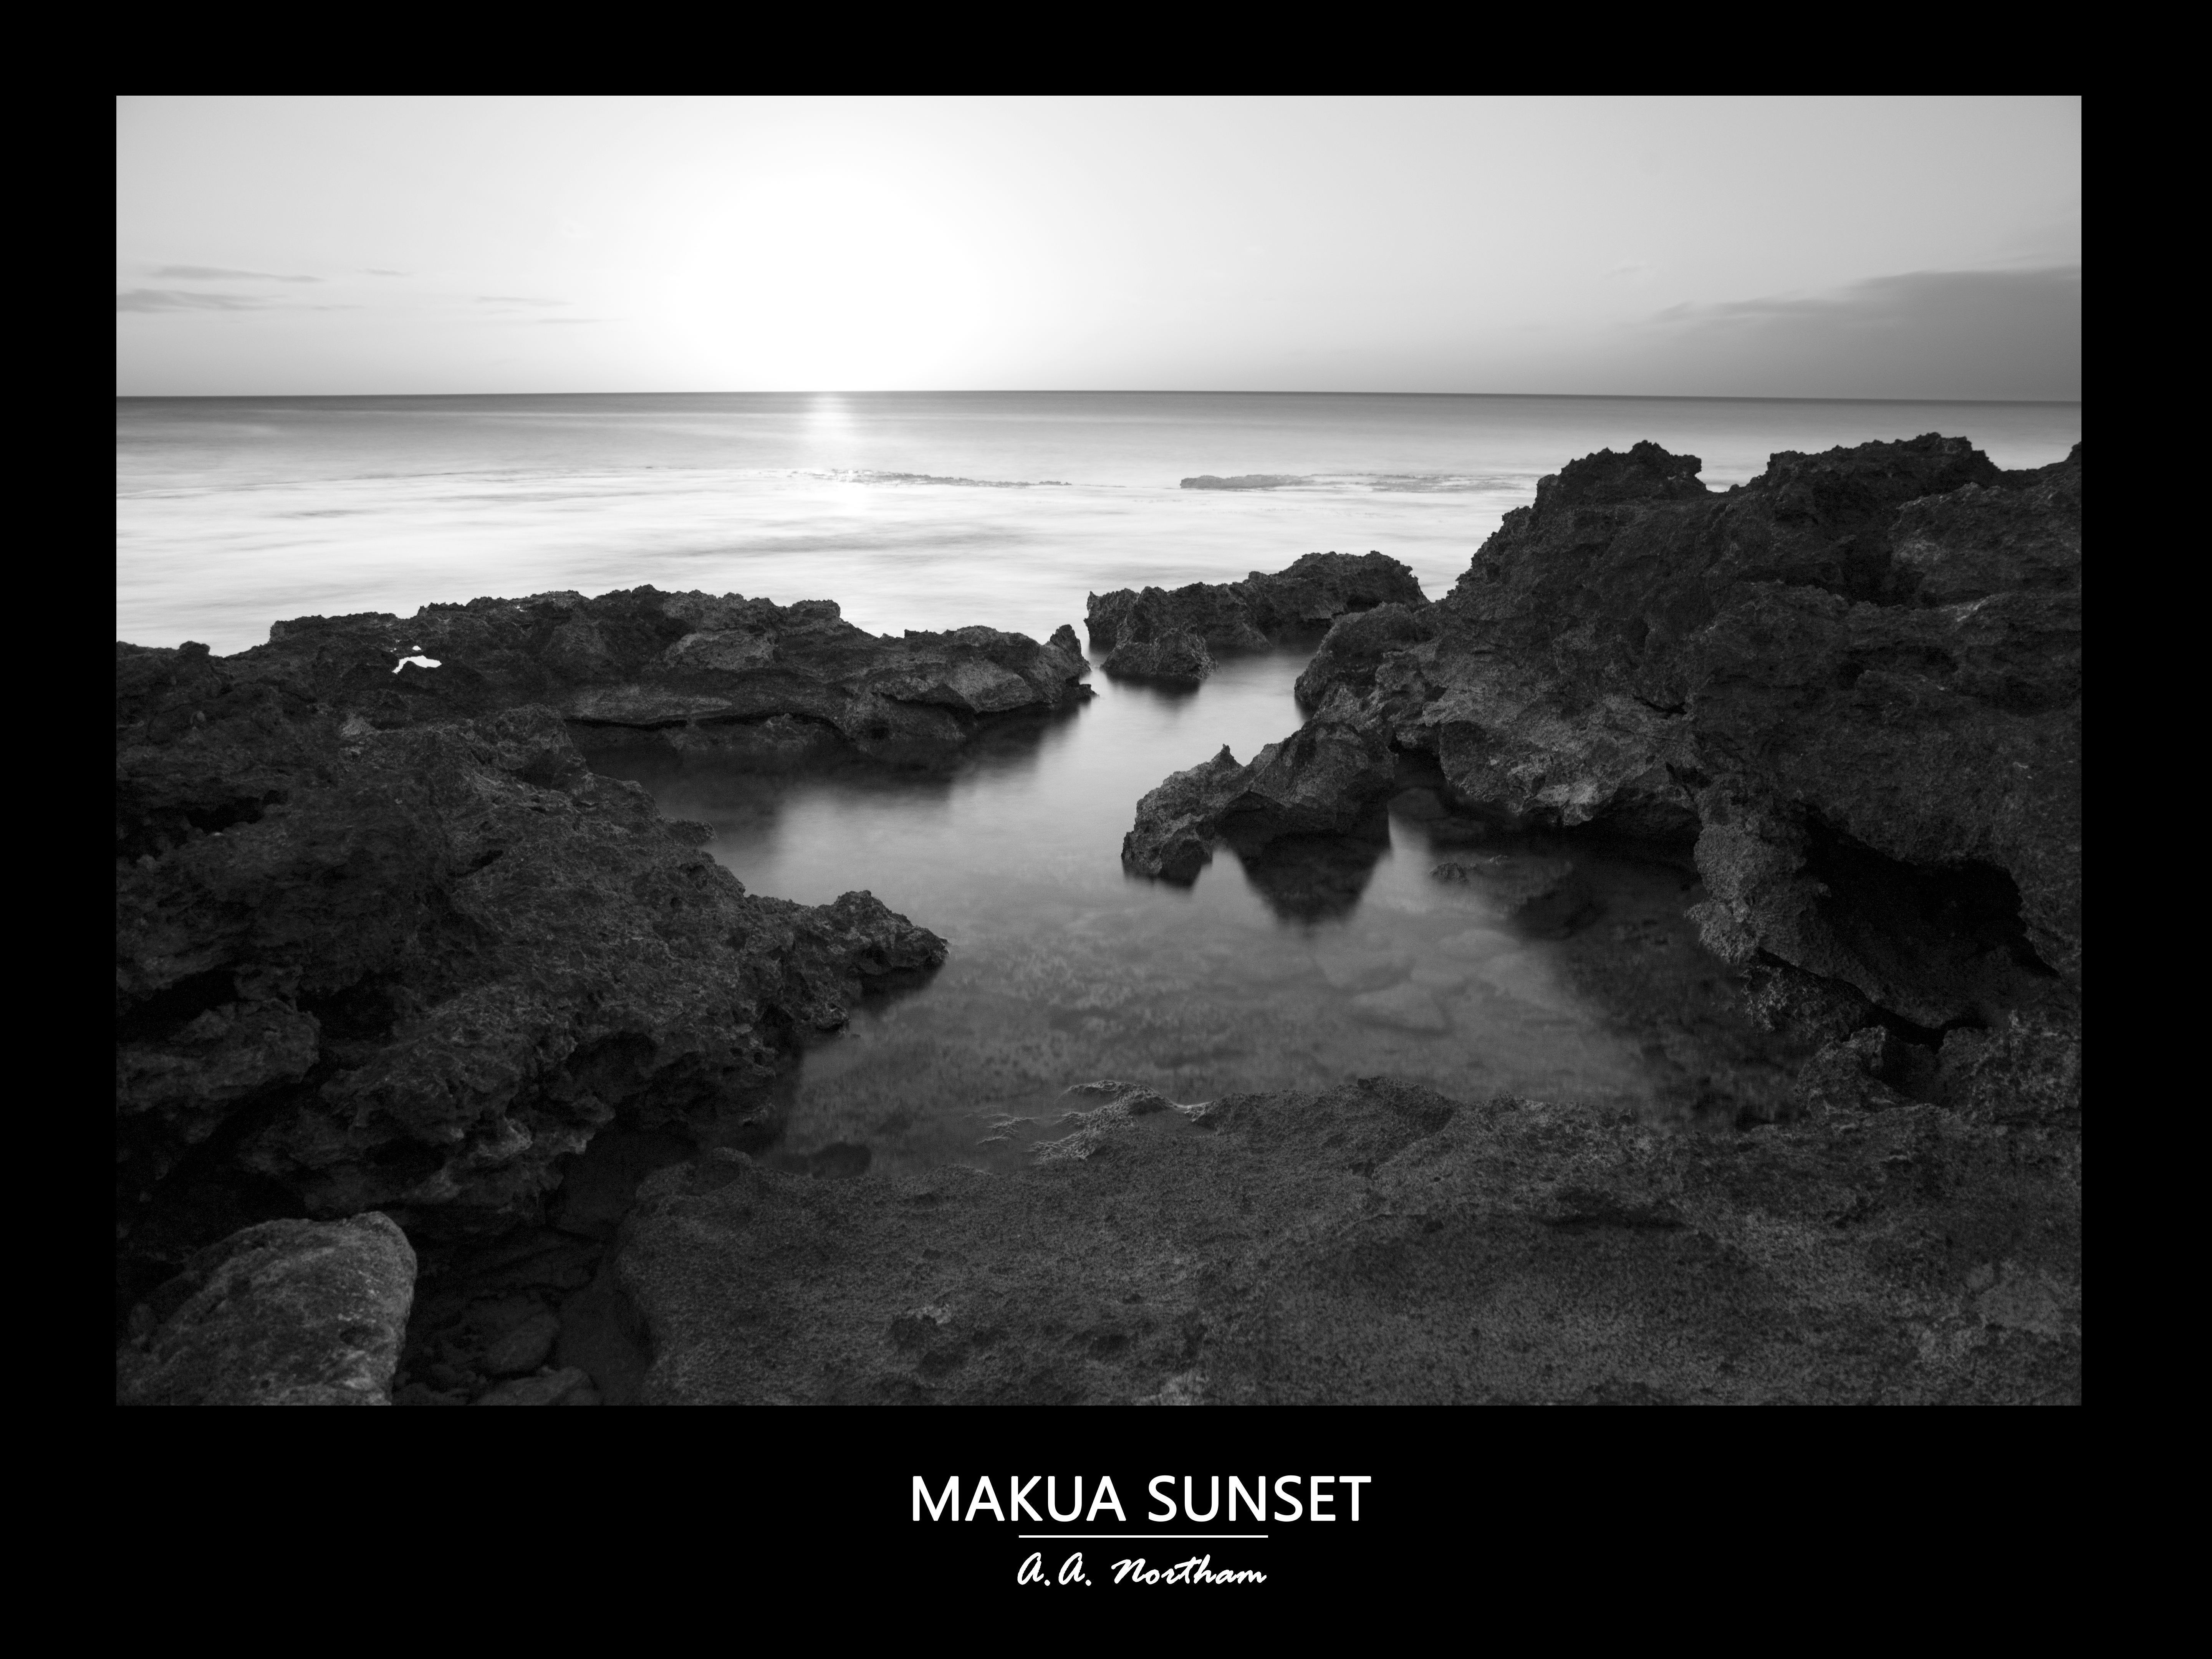
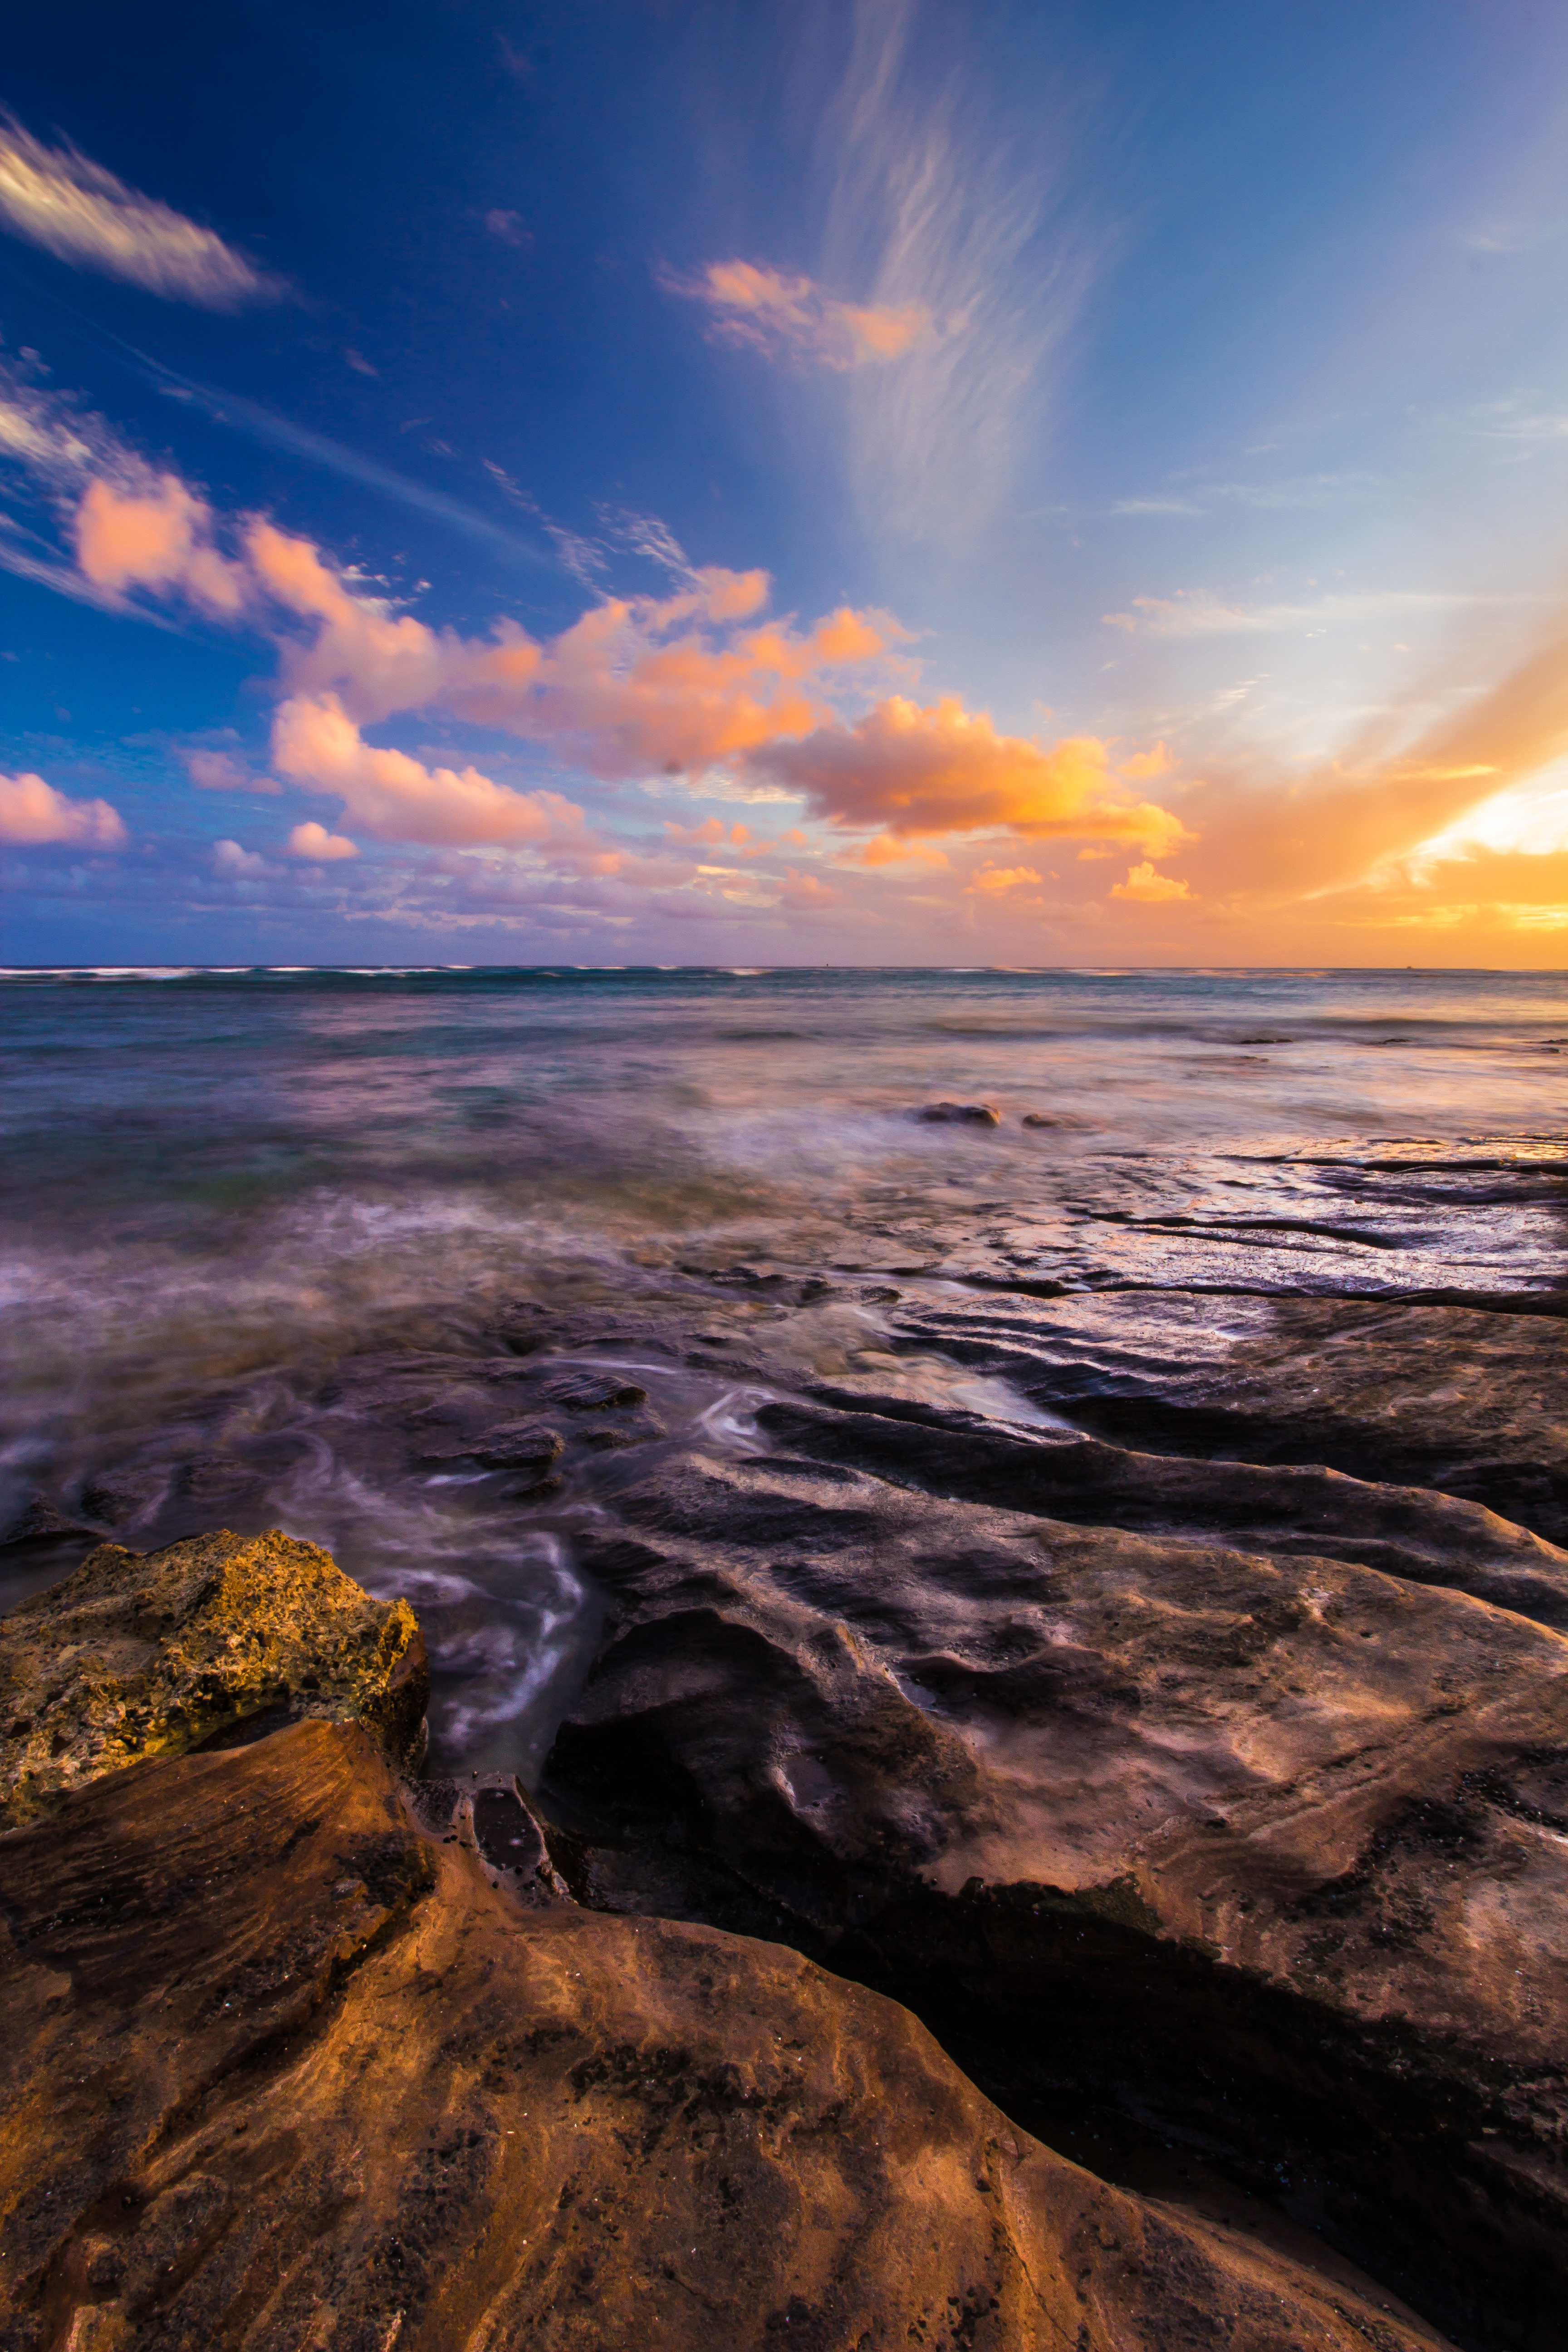
Traveling through Ko Olina yesterday had me kind of bummed. I just could not get into any of the shots. It felt like I had taken all the shots before. Driving up to Waianae and sitting on the lava rocks near Makua Beach didn’t have me feeling much better either. There were no clouds, and the sun was bright and washing out all the possible colors.
So I decided to stop trying to get gorgeous colors–which is what I typically go for–and instead switched to black and white. I was pretty happy with the results as it seemed to make the photos more moody and evocative. This change was gotten by switching my camera mode to Monochrome, though the edited shots came from RAW files, which retain color. For those, I used a RAW photo editor to return the image to grayscale.
Ward Center in HDR
Posted on March 23, 2015

This is my first “true” HDR photograph, consisting of three aligned images and some careful blending. It is not too bad for my first try. I have a few other photographs which I have blended using gradients, but those do not have an HDR look. This photograph definitely does. I am hoping to find an opportunity to do more outdoor shots of the Honolulu skyline so I can try this type of photography a bit more. For now, this is what I got.
Ko Olina, or, Why I Use ND Filters
Posted on March 23, 2015
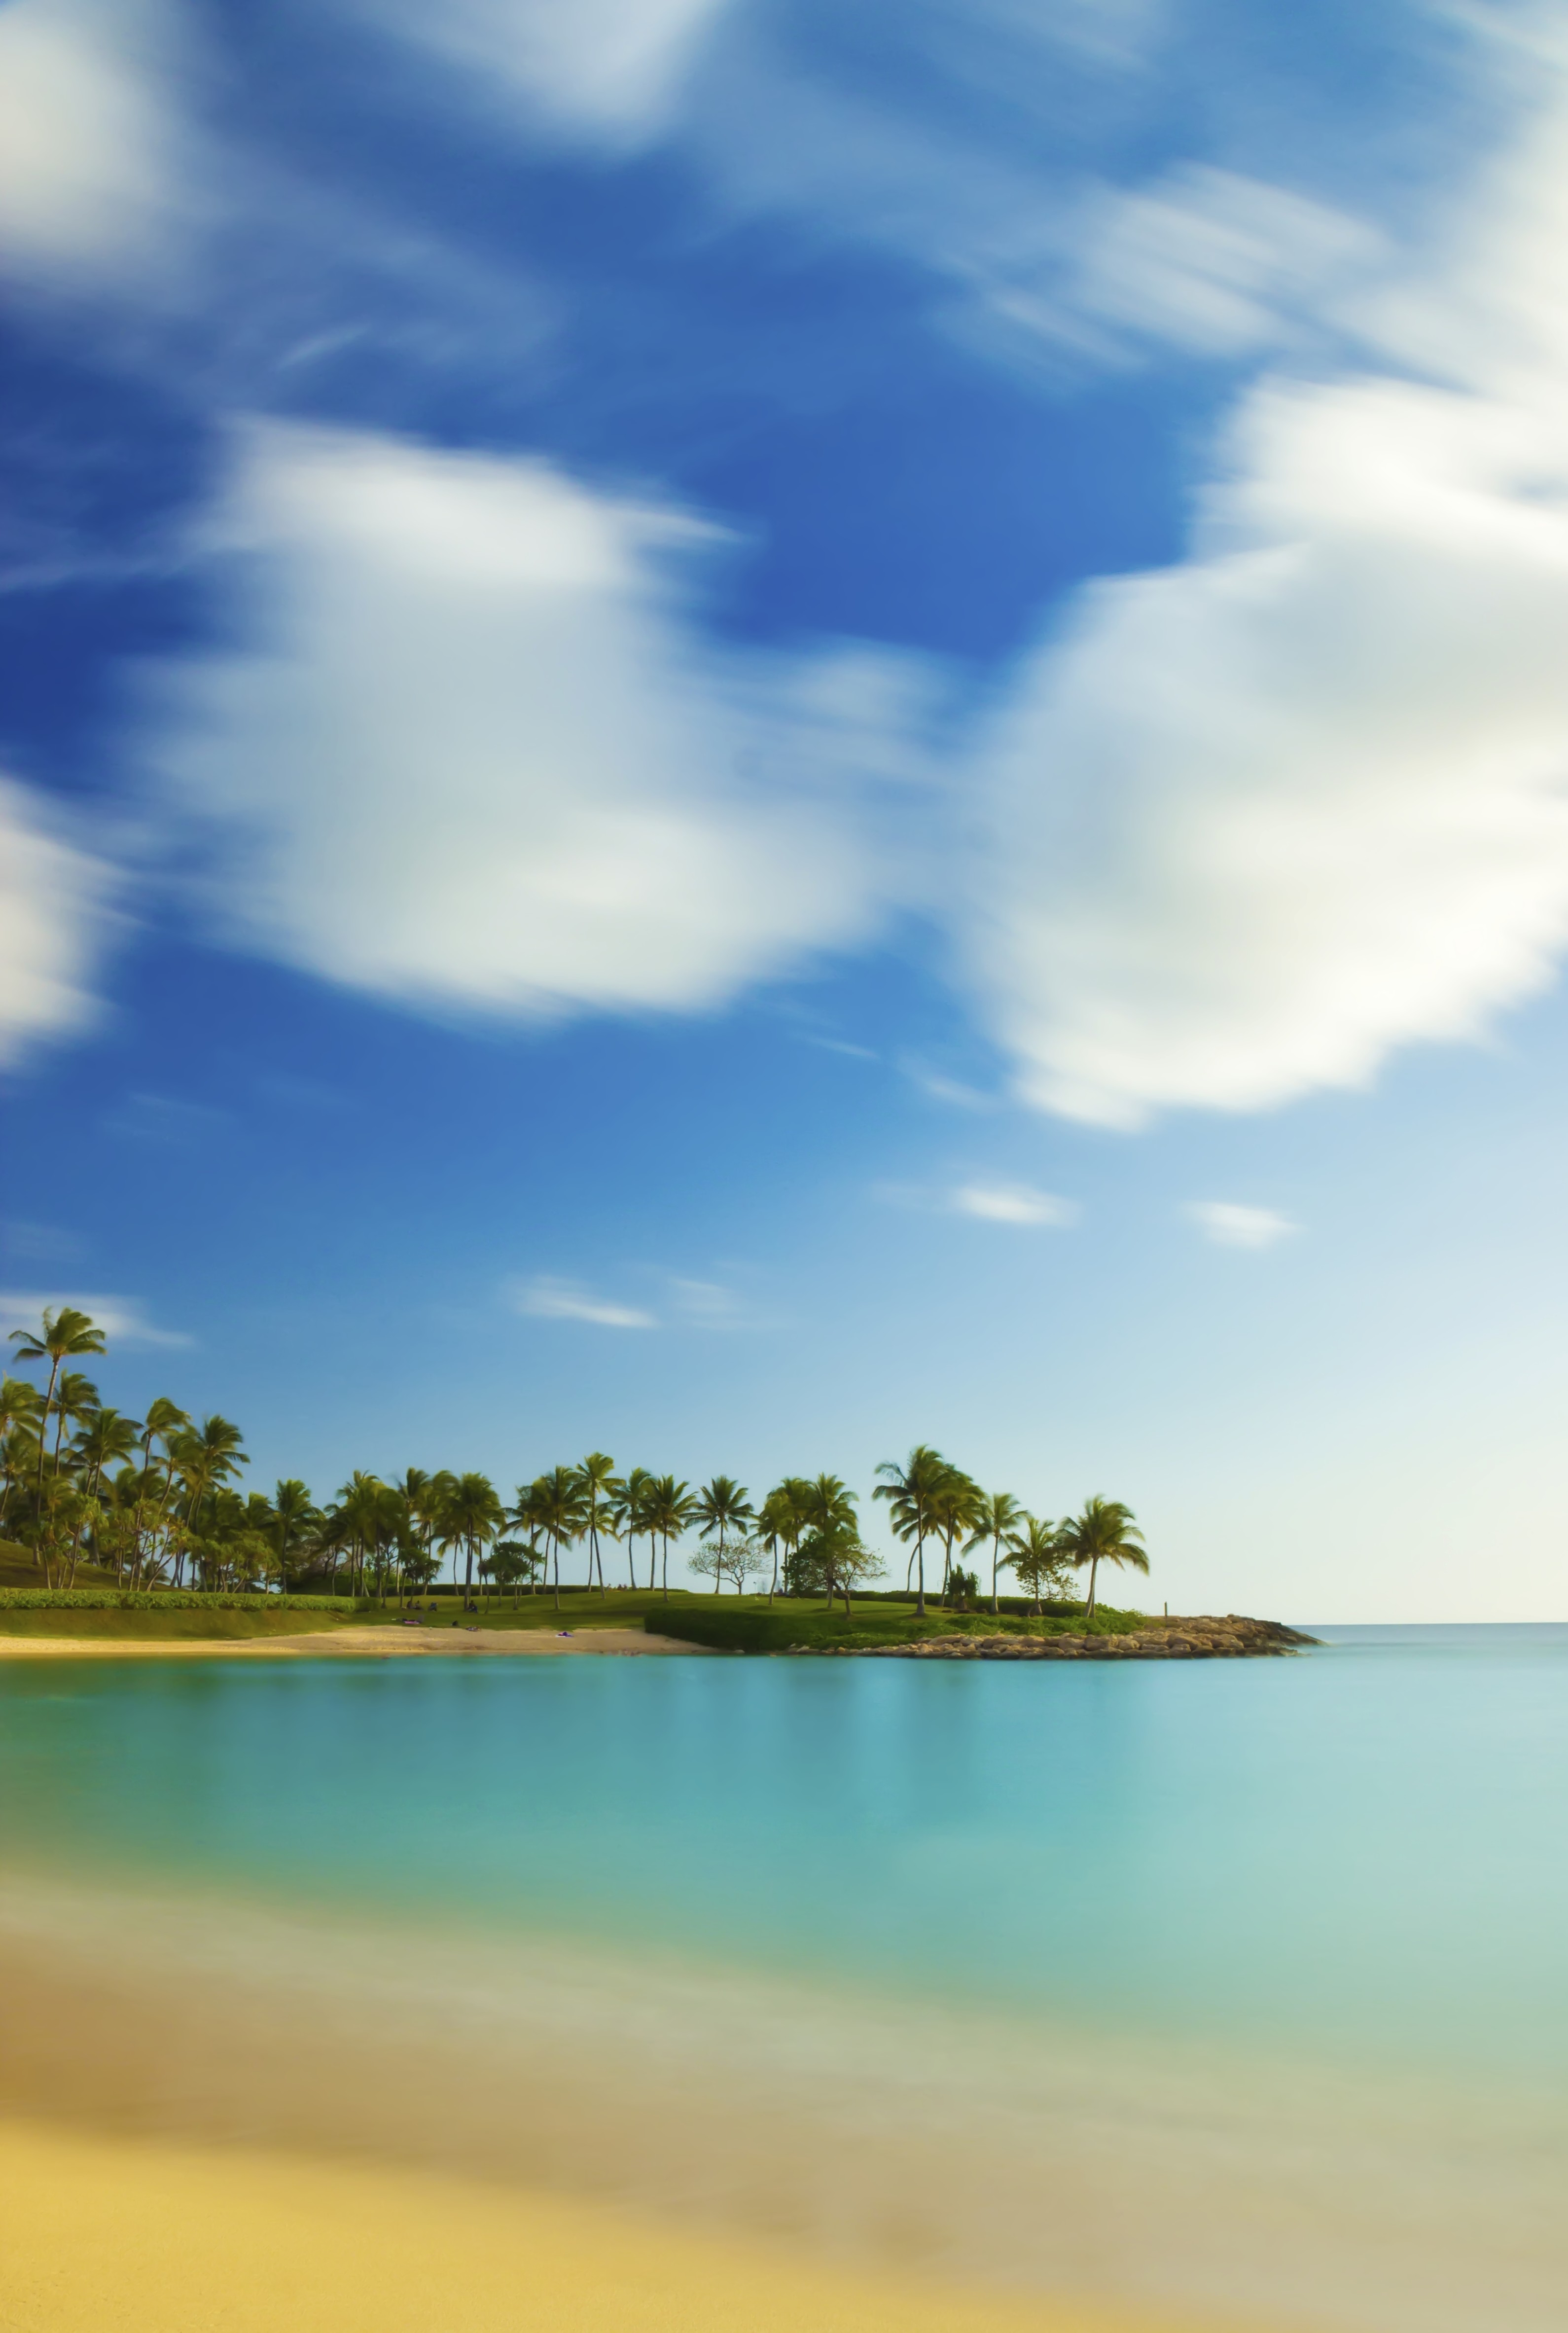
If you are an aspiring landscape photographer, and you aren’t using an ND (neutral density) filter for your daytime photos, you might as well stop now.
Okay, don’t listen to me. I am pretty sure Ansel Adams did not always use neutral density filters on his photos, if ever. But if you are wondering how other people manage to get that soft look in their daytime photographs, it is because they are doing slow shutter work on a tripod. And the reason they can use a slow shutter speed is because of the neutral density filter.
The photograph above of one of the lagoons at Ko Olina on Oahu, Hawai’i is a perfect example of this. A photo like this is completely impossible without the help of a ND filter. Great waterfall shots are impossible. Daytime shots of models with extreme bokeh are also difficult without the added filter. So an ND filter is a great investment. In my case, I use the Hoya Pro 1000 ND, and I have never been disappointed with it.
A good portion of my photographs were shot using this ND filter. Why? Because I like the dreamy, ultra-colorful effects it can produce. Also, it is a must if you are trying to shoot waterfalls during the daytime. The sun is often too bright to allow you to do a slow shutter shot, and that is where having a great ND filter comes in.
If you are going to get a ND filter, do your homework and make sure you get one that is dark enough to actually work. Some ND filters will say they are 3 stops down but be labeled with a larger sounding number. 3 stops is going to be too weak. In order to get great soft and dreamy daytime photos, you need a very dark filter. It should look almost completely black. My Hoya Pro 1000 is a great option for beginning photographers, but there are also some great ones from Cokin that veteran photographers swear by. Anything by Hoya or Tiffin should be super great though.
How Did I Get This Shot?
Posted on March 17, 2015

Call it a mistake from being temporarily obsessed with HDR photography.
I was sitting at my job with my travel hard drive, finished with all my design work and instructional help, and so I decided I wanted to see if I could do an HDR photo using the photos I already had . . . because I was not going to be let out of work to take photos. I sifted through my old photos and came across an older one I had shot of the Waikiki skyline at night.
My plan was to use Photoshop to underexpose the shot and overexpose it and then combine the three resulting images to create an HDR photo. After my first attempt, I realized this was not going to work well. So I settled for simply messing around with Photoshop while at work.
After a few careless edits, I managed to get the shot above. It is almost unrecognizable from the original shot, which, was already quite pretty. This is definitely more my style though. Bright colors, soft transitions, and tons of contrast are typical of my paintings. But even I was a bit astonished with what I was able to do with this photo and Photoshop.
For people interested in knowing how to do this, you will need CS5 or higher and a standalone or plug-in for Imagenomic’s Noiseware (I used the standalone version). I began with my typical edits adjusting contrast and tone and then using transform to make sure the city skyline was de-skewed. Then I put the image through the HDR Toning Filter, keeping the effect very, very slight.
Now, if you have used the HDR Toning Filter, you know that this can often leave unwanted noise on the photo. I hate noise. But I do love Gaussian blurs, so I created a duplicate layer and applied a pretty hefty blur. Then I reduced the opacity and created a mask to keep the buildings nice and crisp.
This was okay, but it was not exactly what I wanted, so I selected a layer “type” and instead of using “Normal” (the default), I selected overlay. My coworker told me she was almost immediately blinded. The overlay darkens and brightens colors in a pretty nice way, and I think I may have discovered my new favorite way to edit landscapes. When I saw the photo, I knew it was exactly what I wanted.
Still, the image was not perfect. The overlay blurred the noise left behind by the HDR Toning, but it still was a bit too grainy for me. I had been researching Photoshop plug-ins earlier in the week, and that was when I came across Imagenomic’s website. They have three pretty nice plug-ins, the two I like the most being Portraiture and Noiseware. To be honest, I was pretty sold on Imagenomic’s plug-ins before using them, but they let you download the Noiseware plug-in for free as a trial, so I decided to try it out. I was not disappointed. Noiseware got rid of all that terrible noise in my photo and really made it shine like how I wanted it to.
After that, I bought Noiseware for my mobile device and plan to buy the standalone software as soon as my trial period is up. I strongly recommend this software for anyone interested in cleaning up their grainy images. It really does an amazing job! I also tried out Imagenomic’s Portraiture and was equally amazed. These are both definite musts for photographers!
Sacred Heart Church in Honolulu
Posted on July 13, 2014
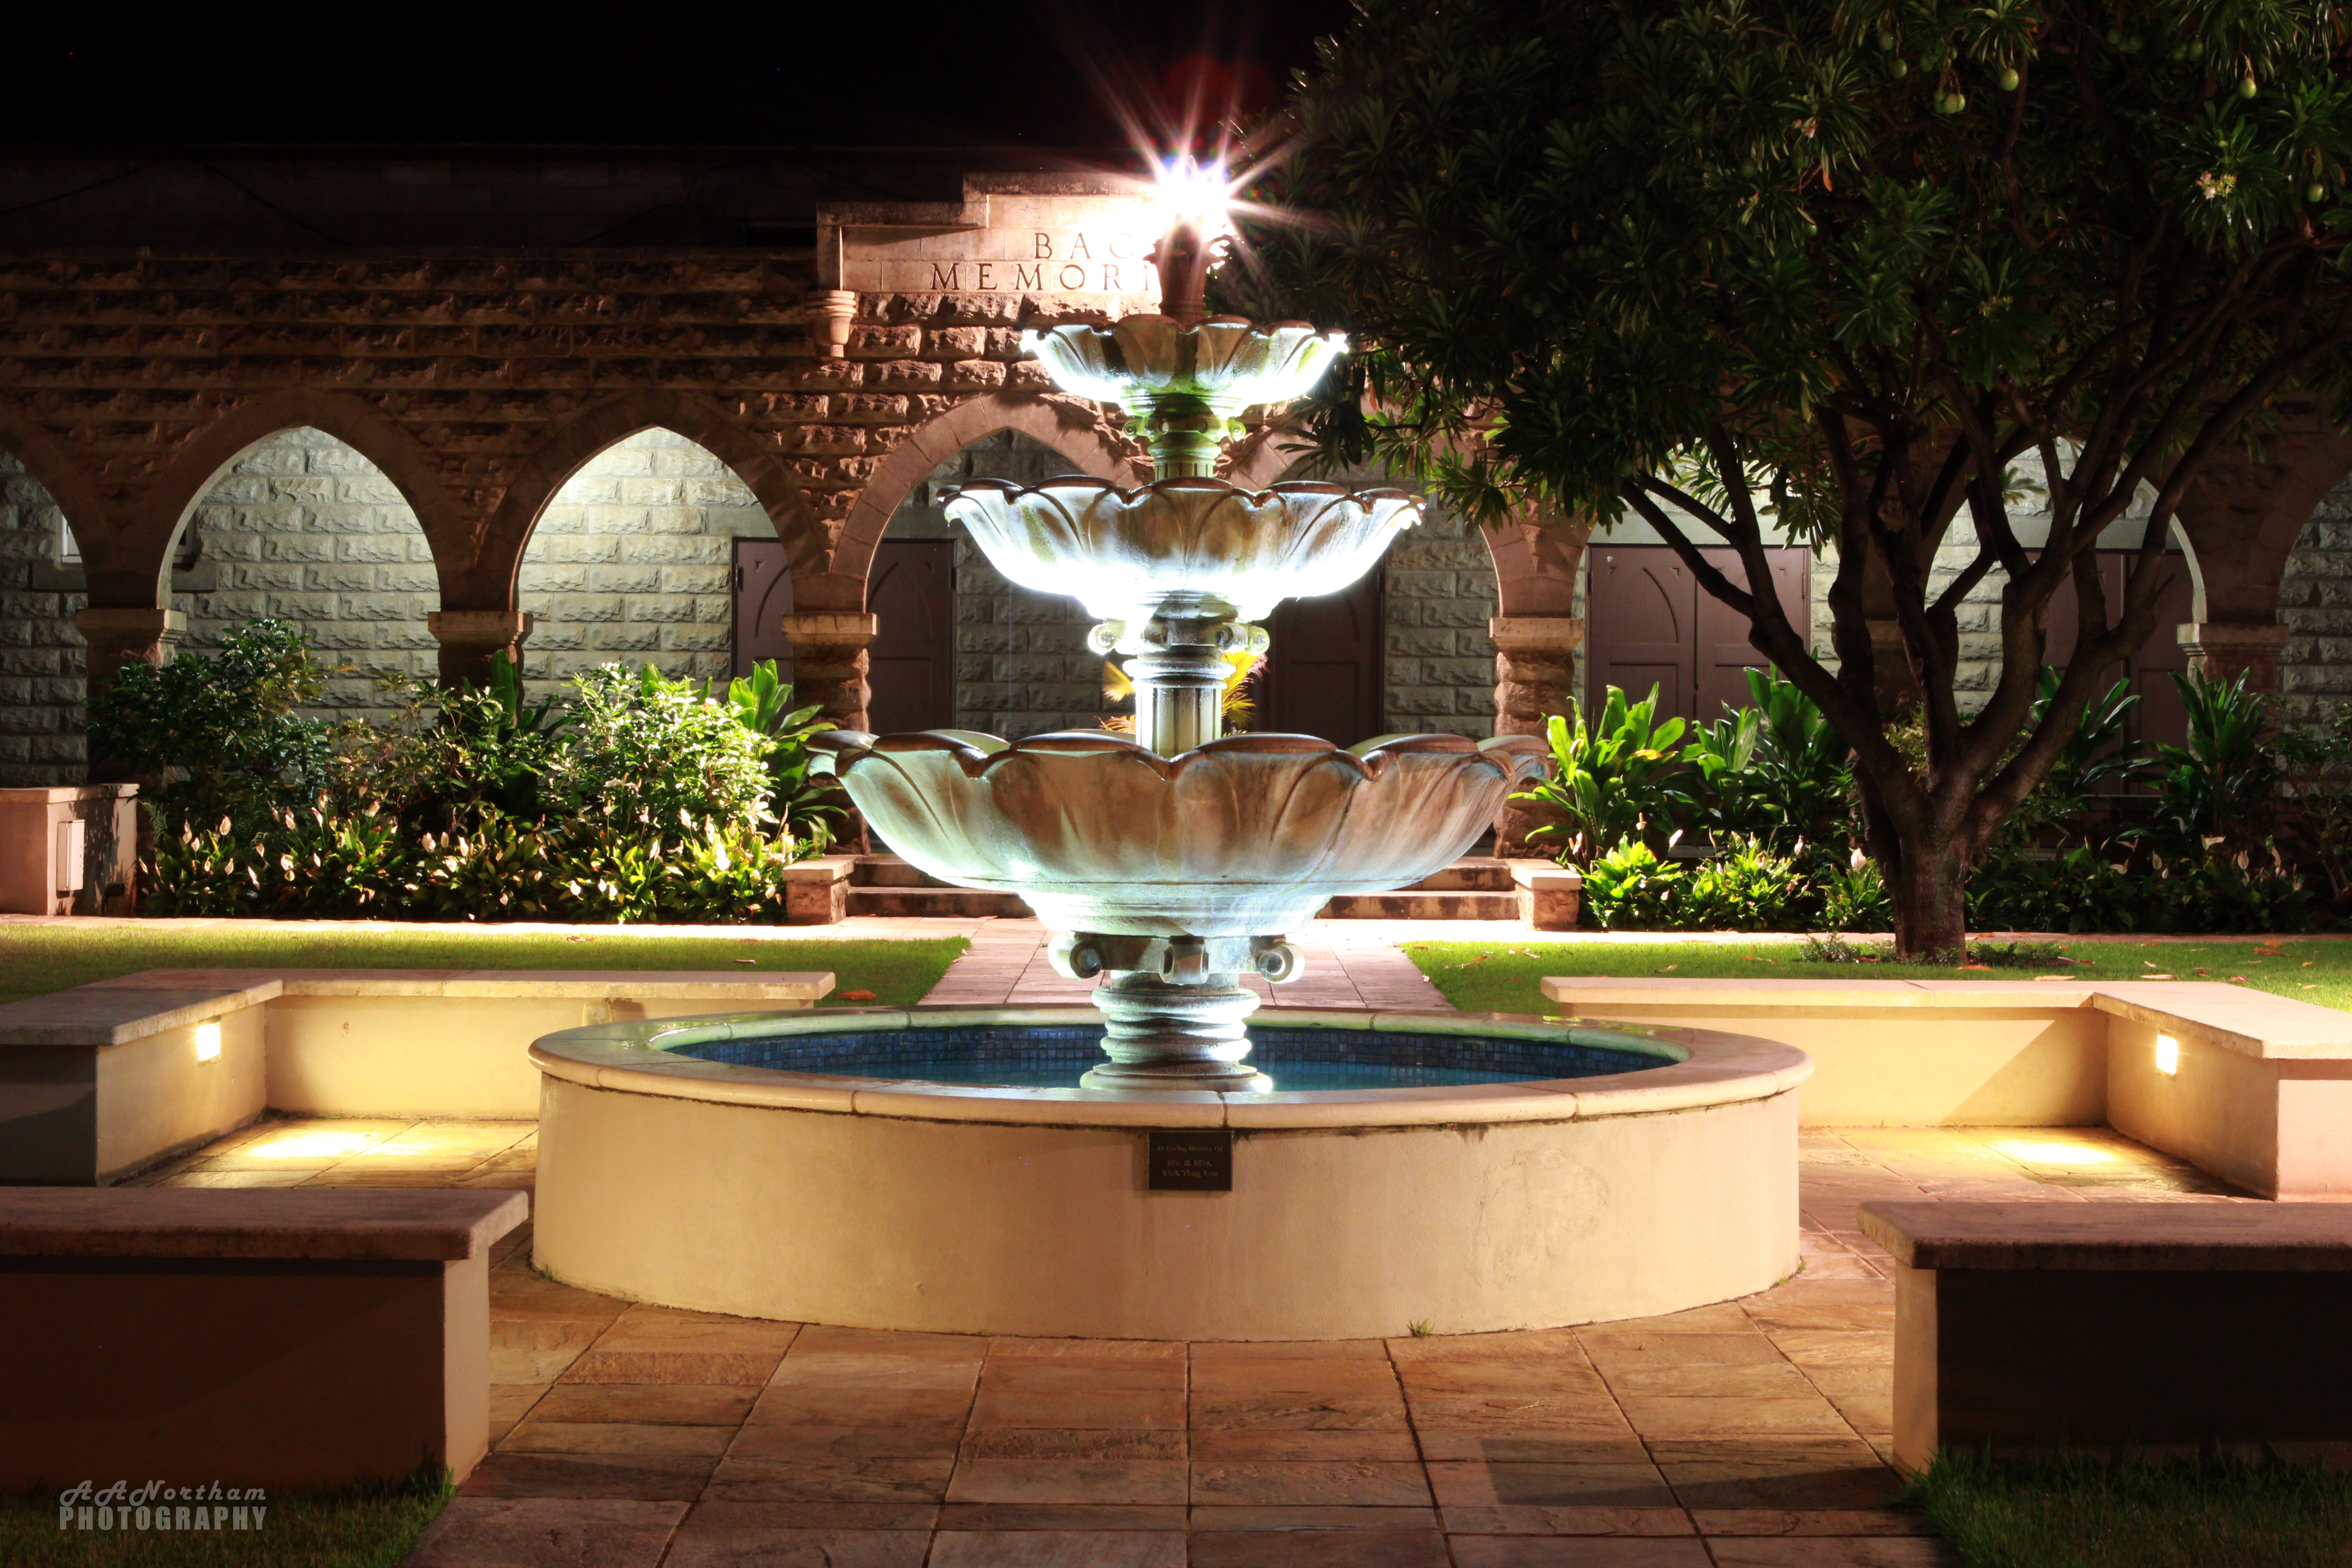
The fountain of Sacred Heart Church lit up at night.
Sandy Beach Park at Dusk, Oahu, Hawaii
Posted on June 25, 2014
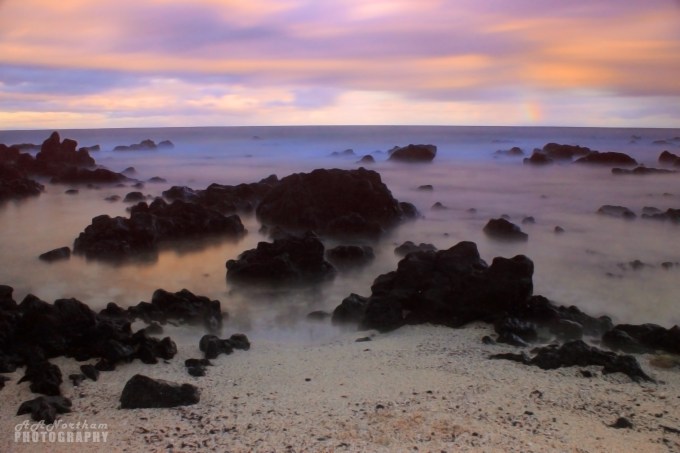
Shot with Canon 18-55mm at 18mm, f/13, ISO400, for 2 mins using a stacked Rockfish Circular Polarizer, Hoya ND1000, and Hoya NDx10 Grad Filter. This is by far the best shot I have ever gotten with my Canon 600D, though I would not recommend stacking all three filters as this caused severe vignetting (my Rockfish CP is unfortunately cross-threaded onto my lens, so I had to make due). This is the jpeg version of the shot, but I also have it in RAW format.


